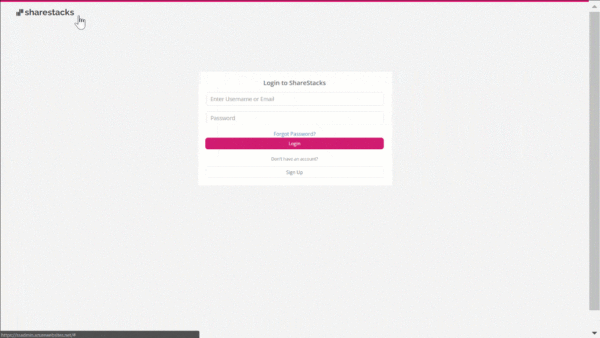
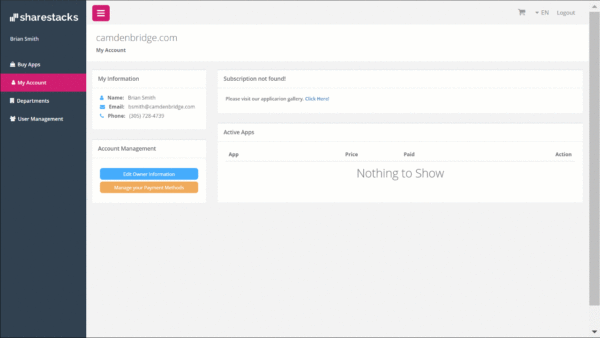
Go to LINK HERE and click Sign Up button. Fill the required fields with your information and click Continue. Read the description and click Accept. Complete the next fields, read our Term of Service and Privacy Policy documentation and click Sign Up. Now you can start downloading the Sharestacks modules.
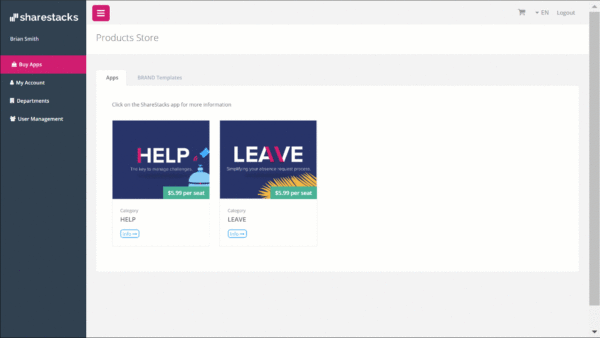
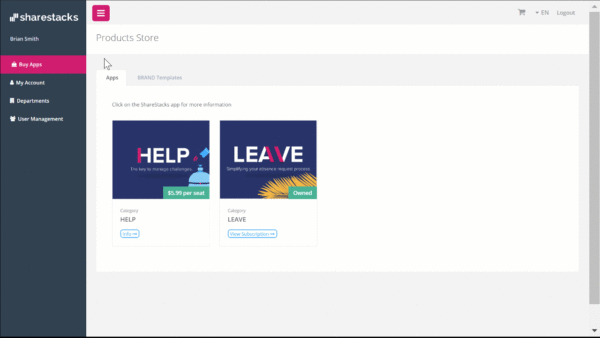
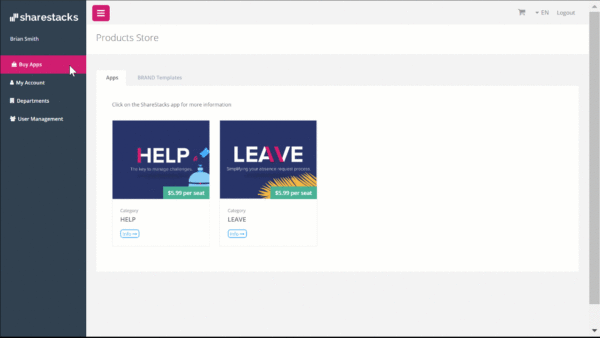
To buy BRAND go to the Buy Apps tab in the left menu. Click BRAND Templates tab and then select the template you want to acquire. Click the Add to Cart button. Click the Go to Cart button to see your purchase summary. Click the Checkout button. To finish click the Pay button and then Continue. Click the Get BRAND App and then Download Sharestacks BRAND Files. Once completed, you’ll have a Zip Folder that contains the User Manual and the installation file.
To buy LEAVE go to the Buy Apps tab in the left menu. Click the LEAVE image. Click Add to Cart. Your LEAVE product will be almost ready to use. Click the Go to Cart button. It is time to Select your Subscription Cycle and Seats preference. Click the Checkout button. In the next screen, you’ll have the summary of your order. Click Pay button to finish your purchase.
